Home / Repainting a Metal Gate
Repainting a Metal Gate
The short answer on repainting
A repaint lasts only as long as its weakest layer. Clean metal, a compatible primer and a topcoat built for exterior steel will outlast a rushed job many times over, and the difference comes almost entirely from the work done before the first brushstroke of color. A gate sits outdoors in sun, rain and swinging motion, so it punishes shortcuts harder than a wall or a door does.
Decide whether it needs a full strip or a refresh
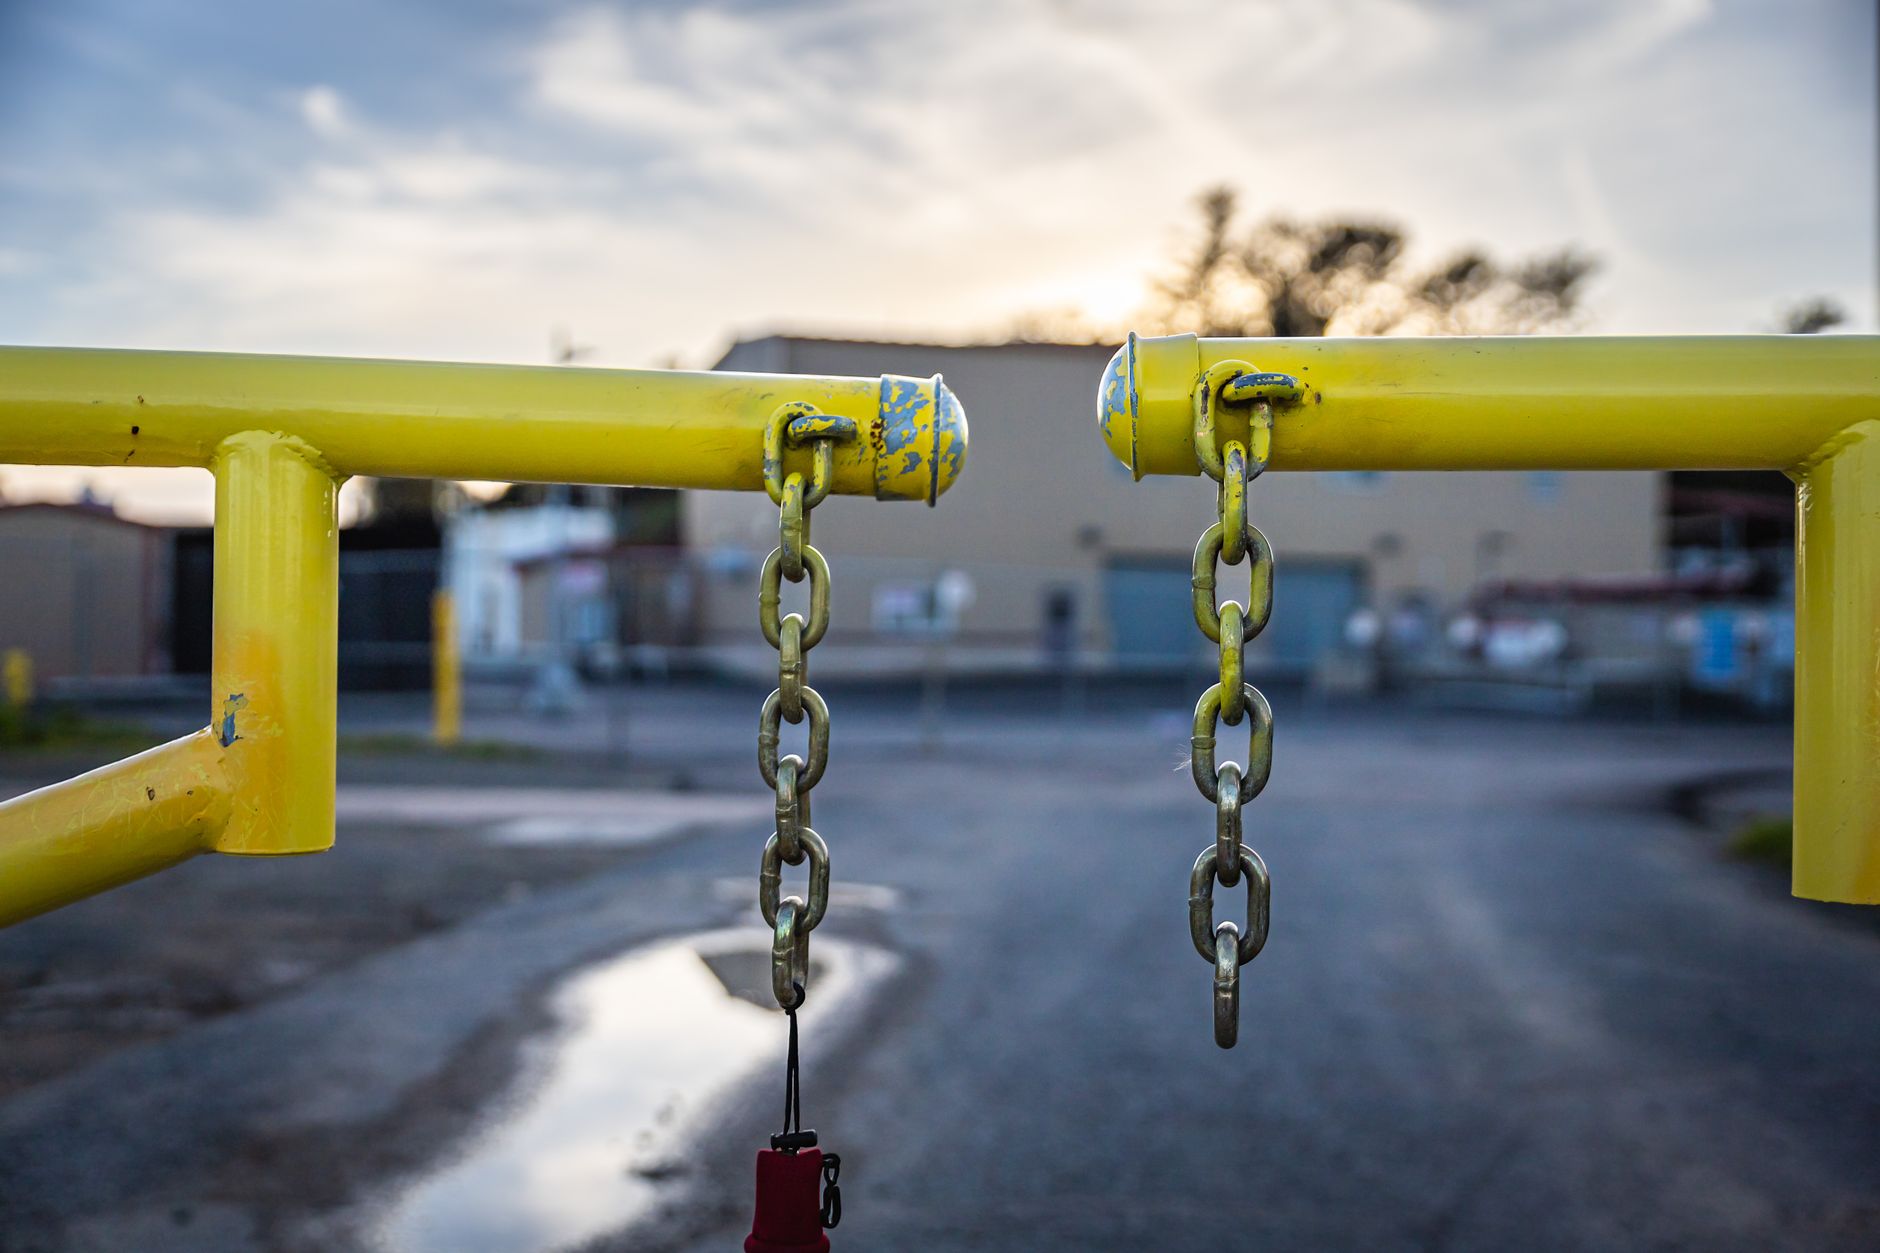
Walk around the gate in good light and read the surface. A coating that is faded and chalky but tightly bonded only needs cleaning and a fresh topcoat. A coating with scattered chips and a few rust spots needs spot repair, then a full topcoat. A coating that peels in sheets, bubbles over joints or flakes at touch needs removal down to a stable edge, or to bare metal across the failed areas.
A simple adhesion test helps. Press a strip of strong tape firmly onto a clean patch, then pull it off in one quick motion. If the tape lifts paint, the old coating is not holding, and painting over it will simply move the failure to a new layer. If the tape comes away clean, the existing finish can serve as a base after scuffing.
Powder coated gates need extra thought. That finish is baked on and very hard, which makes it durable but also slick for new paint. It can be repainted with the right prep, but it will not accept a casual coat applied over a dirty glossy surface.
Cleaning comes first, and it is more than a rinse
Dirt, pollen, mildew, oily fingerprints and chalky oxidation all sit between a paint film and the surface it needs to grip. Scrub the entire gate with warm water and a degreasing cleaner, using a nylon brush for the corners and the backs of the bars. Mildew shows as dark speckling on shaded gates and should be treated with a mildew cleaner and rinsed thoroughly. Rinse until the water runs clear, then allow the gate to dry completely. Humid weather can leave metal damp in joints for a day or more after it looks dry, so wait for a stretch of dry hours before moving on.
Wipe the metal with a clean rag dampened with a recommended solvent just before priming. This removes the invisible oils that water-based cleaning leaves behind.
Dealing with chips, rust and rough edges
Scrape away anything loose using a putty knife or a stiff scraper. Wire brush or sand rust spots to sound metal and feather the edges of the surrounding paint with medium sandpaper, so that the old coating tapers smoothly into bare steel instead of ending at a ridge. A ridge always telegraphs through a topcoat. Where rust has returned repeatedly, a separate page on rust removal from iron gates covers the methods in more depth.
Fill dents and weld gaps only if appearance matters. A two-part metal filler works for shallow imperfections, but it must be sanded smooth and primed like any other repair.
Scuffing the surface
Even sound old paint needs scuffing so new coats can bite. A light pass with fine sandpaper or a gray abrasive pad dulls the gloss and leaves microscopic scratches. The goal is a uniform matte surface, not removal of the film. Wipe off the dust with a tack cloth or damp rag and let it dry.
Choosing a primer
Primer does three jobs: it grips the metal, it blocks rust and it gives the topcoat something compatible to stick to. Bare steel and iron call for a rust inhibiting primer meant for ferrous metal. Galvanized steel needs a primer made for zinc surfaces, because ordinary primers peel from it. Aluminum needs its own self-etching or aluminum-rated primer, since aluminum does not rust the way iron does but still resists ordinary paint adhesion.
- Oil-based or alkyd primers: soak into slightly rough metal and seal well, but they dry slowly and need longer before topcoating.
- Water-based metal primers: low odor and fast to dry, and suitable on sound surfaces, though they do best on clean, well prepared metal.
- Zinc-rich primers: offer extra protection at welds and hard-to-recoat areas, often used on larger repairs.
Apply primer in thin coats and work it into crevices, inner faces of joints and the underside of rails. Two thin coats outperform one heavy coat, which tends to sag and cure unevenly.
Picking the topcoat
Look for an exterior enamel formulated for metal. Acrylic enamels flex with temperature swings and resist fading, which is helpful under long hot summers and strong sun. Alkyd enamels flow out smoothly and give a hard, glossy finish but can yellow or chalk more over time in intense light. Some single-product paints combine primer and enamel, and their strengths and limits are discussed on a separate page about direct to metal paints.
Color affects heat. Very dark gates absorb a lot of sun, and the metal can become hot enough to be uncomfortable to touch, while accelerating expansion and wearing coatings faster. Mid and light tones reflect more heat, though dark finishes remain popular and perform fine when the paint system is sound.
Sheen matters too. Satin and semi-gloss are easier to clean and shed water better than flat finishes, which can hold dirt and look blotchy. High gloss shows every surface flaw, so it demands better prep.
Application technique
Paint in moderate temperatures, out of direct midday sun and away from wind. Metal that is hot to the touch dries paint too fast, causing brush marks, blistering and weak bonding. Avoid painting when rain or heavy dew is expected within the cure window. Early morning or late afternoon in the shade of the gate itself generally works well in hot weather.
Work from the top down and from the inside out. Do the hardest areas first: the joints, the backs of pickets, the hinge side and the underside of the bottom rail. Then finish the flat faces. Maintain a wet edge so overlap lines do not show. Apply two topcoats rather than one, waiting for the recoat time on the label between them. A rushed second coat can lift the first.
Protect hardware. Remove or mask hinges, latches and locks, and keep paint out of the moving parts. Painted-over latch mechanisms and sealed hinge pins are a common reason a freshly painted gate sticks or drags.
Cure time and what to avoid afterward
Paint feels dry long before it cures. Many enamels need days before they reach full hardness, and a gate swung shut too early can bond to its latch post or stick at the stop. Keep the gate open and clear for the stated cure time, and avoid washing it harshly for the first couple of weeks.
Common repainting mistakes
- Painting over chalky, dirty or mildewed surfaces without washing.
- Skipping primer on bare spots because the topcoat claims coverage.
- Using a wall paint or deck paint that cannot handle metal and weather.
- Applying thick coats to finish faster, which leaves drips and soft film.
- Painting hardware and hinge pins closed.
- Ignoring the bottom rail and the inside faces, where water collects and failure starts first.
How long a repaint should last
A well prepared repaint on an exterior gate can remain presentable for many years, but exposure shapes the real number. Gates that face strong afternoon sun, catch sprinkler spray or sit under dripping trees age faster than sheltered ones. An annual wash and a quick inspection for chips lets small flaws get touched up before they spread. When failure does appear, it is usually localized at the bottom rail, around the latch or at the hinges, and a targeted repair costs far less effort than waiting for the whole surface to fail.
The longer project articles on metal gates austin digest describe how repainting fits into broader gate restoration, including when a gate is better rebuilt than recoated.
Take the time to prepare, prime and cure properly, and a repainted gate will look good long after the weekend of work is forgotten.