Home / Removing Rust From Iron Gates
Removing Rust From Iron Gates
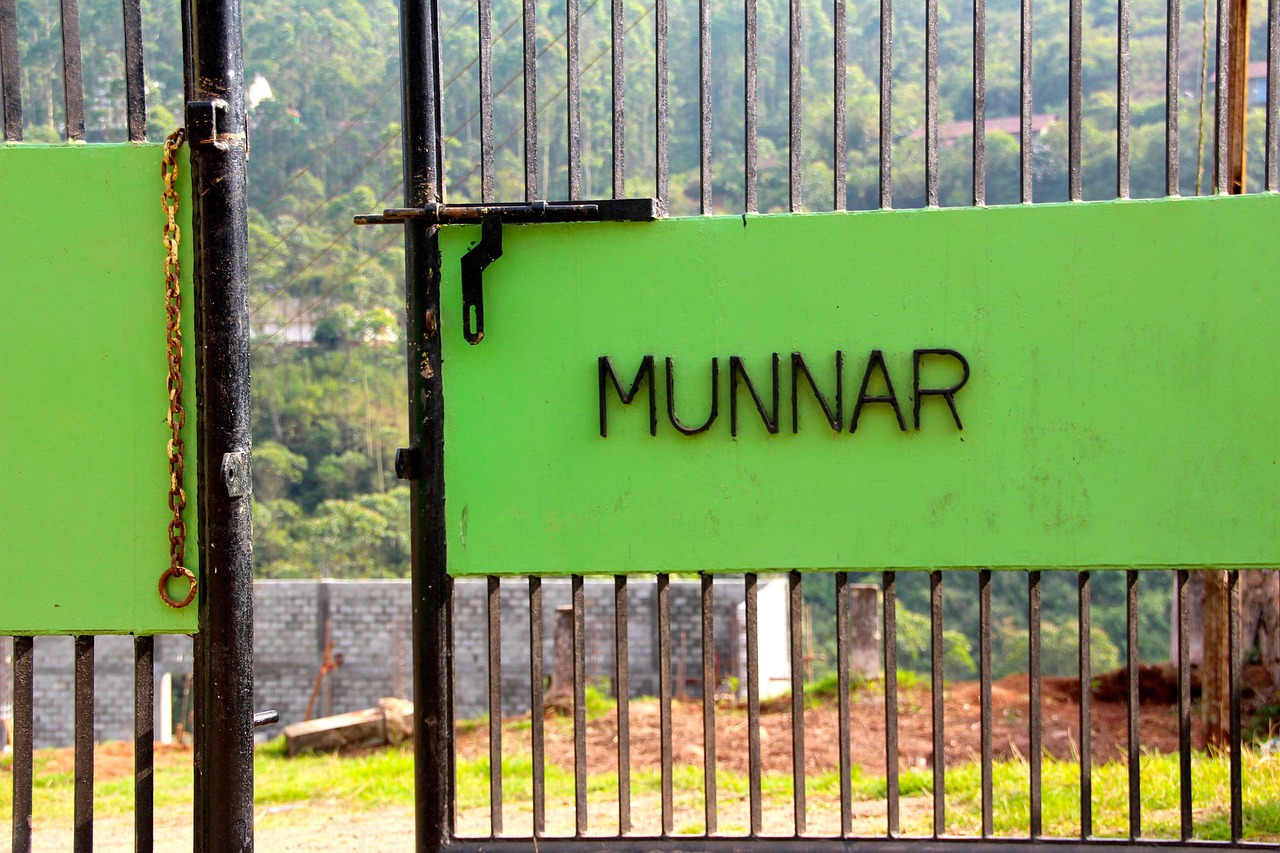
Rust on a gate usually starts as a small orange bloom where a weld meets a bar, or along the bottom rail where water sits after every rain. It looks minor, and that is exactly why it gets ignored until the bloom has become a flaking crust. The good news is that surface rust on solid iron is one of the most forgiving problems a gate can have. The work is mostly patience, a few hand tools and a clear idea of what you are trying to leave behind on the metal.
What rust actually is
Iron and steel rust when bare metal meets oxygen and moisture. The reddish layer that forms is larger in volume than the metal it replaced, so it swells, cracks and lets more water reach fresh iron underneath. That swelling is why a rusty joint often looks puffier than it should and why paint bubbles over it long before the metal itself looks thin. A humid subtropical climate with long hot summers and sudden downpours gives rust a steady supply of both ingredients, and the repeated wet and dry cycles keep the process moving.
Wrought iron, mild steel and cast iron all rust, but they do not behave identically. Old wrought iron contains slag fibers that make it slower to corrode and give the surface a layered, wood grain look when it does. Modern mild steel rusts faster and more evenly. Cast iron, common in decorative castings and some older hinges, rusts into a gritty, brittle surface that is harder to clean in recesses. Knowing which you have changes how aggressive you can be.
Sorting surface rust from structural damage
Before any cleaning, tap along the frame with the handle of a screwdriver. Sound metal rings or gives a dull, solid tap. A hollow, crunchy or flaking response means the section has lost material. Press a screwdriver tip firmly into suspect spots, especially the lowest few inches of the posts and the bottom rail. If the tip sinks in or the rust comes away in layers thicker than a fingernail, you are dealing with more than surface staining.
- Surface rust: orange powder or light scale that wipes or brushes off to leave smooth, solid metal.
- Scale rust: thicker, flaky layers that leave a rough, slightly dimpled surface once removed.
- Penetrating rust: holes, thinned edges or bars that bend under hand pressure where they used to be rigid.
The first two respond well to the methods below. The third is a repair or replacement conversation, and separate guidance exists on judging metal loss in detail.
Prepare the gate before touching the rust
Take the gate off its hinges if it is small enough to handle, or at least support it so it cannot swing while you work. Lay down a tarp, because rust dust and old paint chips scatter widely. Wear safety glasses, a dust mask rated for fine particles and gloves. If the gate carries an old coating from before modern lead-free paints, treat the dust with caution, keep it contained and follow federal lead-safe work rules, which apply to homes of a certain age.
Wash the gate first with a stiff brush, warm water and a mild degreaser. Grease, pollen film and mildew prevent any rust treatment from reaching the metal. Rinse and let the gate dry fully, ideally in the sun for a few hours, because trapped moisture in joints will bleed new rust through your repair.
Mechanical removal, from gentle to aggressive
Hand wire brushing
A steel wire brush is the starting tool for light rust. Work along the grain of the bar, not across it, and use short firm strokes. Brushing gets rust out of curves and scrollwork where power tools cannot reach. Switch to a smaller detail brush or a stiff toothbrush style for tight spots. Hand work is slow, but it removes almost nothing except the rust, which is what you want on delicate ornamental pieces.
Wire wheels and cups on a drill or grinder
For flat rails, posts and heavy frames, a twisted wire cup on an angle grinder or a wire wheel on a drill speeds the job considerably. Keep the tool moving so it does not dig grooves, and let the wires do the work rather than leaning on the tool. Flying wire fragments are a real hazard, so face protection matters more here than with hand brushing.
Flap discs and grinding
Where scale is heavy or a weld has bubbled, a flap disc removes rust and a thin layer of metal together. This is effective, but it leaves a smooth surface that needs primer promptly, since bright bare steel starts re-rusting within hours in humid air. Grind only as much as the damage demands. Taking a bar down to bright metal along its whole length thins it for no benefit.
Sanding and abrasive pads
Coarse sandpaper or abrasive pads suit the final pass. They feather the edges where old paint meets bare metal so the new coating does not show a ridge. Rough, scratched metal also gives primer something to grip, which a polished surface does not.
Chemical help for what brushes cannot reach
Pitted surfaces and tight crevices hold rust that no brush will clear. Two kinds of product help. Rust removers based on acid dissolve the oxide and leave bare metal, which must then be rinsed, neutralized as directed and primed quickly. Rust converters take a different approach and chemically change the remaining oxide into a stable dark layer that primer can bond to. Each has limits, and a dedicated guide covers how converters work and where they stop being useful. The short version is that converters suit thin, tightly bonded rust and do poorly under thick, flaking scale, so remove loose material first either way.
Always test a small hidden spot before treating the whole gate, and read the label on timing. Leaving a product on far longer than directed can etch the metal or leave residues that cause paint failure later.
Where the rust tends to hide
Water follows gravity, so look at the places it can collect. Check the bottom of every vertical picket, since hollow tubing often fills with water through unsealed ends. Look at the underside of the bottom rail, the inner side of the hinge knuckles, the base of the latch post, and the joints where scrolls meet the frame. Cap-less tube tops are a frequent entry point, and so are drilled holes where fasteners once sat.
On properties with larger lots where gates sit under tree cover, wet leaves packed against the lower rail hold moisture for days. Sprinkler overspray is another culprit, because mineral-heavy water leaves deposits and keeps a gate damp every morning. Redirecting a sprinkler head can do more for a gate than any coating.
Priming and sealing the cleaned metal
Bare steel should be primed the same day it is cleaned, wiped down with a clean dry cloth or a solvent recommended by the primer maker to remove dust. Use a primer designed for ferrous metal, applied in thin even coats that reach into joints and the backs of bars. Pay particular attention to edges and welds, since coatings thin out on sharp edges and failure usually begins there.
Allow the primer to cure for the time on the label before applying a topcoat. A properly built system, covered in more detail on a separate page about repainting, can keep a gate protected for years even in a damp, hot climate. Skipping primer on cleaned steel is the single most common reason rust returns within a season.
Keeping rust from coming back
Once a gate is clean and coated, small habits protect the work. Rinse off salt, fertilizer and sprinkler residue now and then. Touch up chips the moment they appear, because a pinhead of exposed steel is enough to start a new bloom. Keep soil, mulch and plant growth away from the bottom of the posts so air can dry the metal after rain. Seal the tops of open tubing, and drill a small weep hole at the lowest point of a hollow frame if water cannot otherwise escape.
Homeowners who want to see how these steps play out on real projects can read the longer project articles on metal gates austin digest, which walk through restoration decisions from start to finish.
When to stop and call a fabricator
Some rust problems are bigger than a weekend. Hinge posts with deep rust at ground level, frames where the bottom rail has thinned noticeably, welds that flake apart under a screwdriver and decorative castings that crumble all point toward cutting out and replacing sections. A welder can splice in new bar stock far more cheaply, in effort and in outcome, than a gate that eventually fails under its own weight. Treat the cleaning described here as the routine work, and treat structural loss as a decision that deserves a qualified opinion before more paint goes on top of it.